
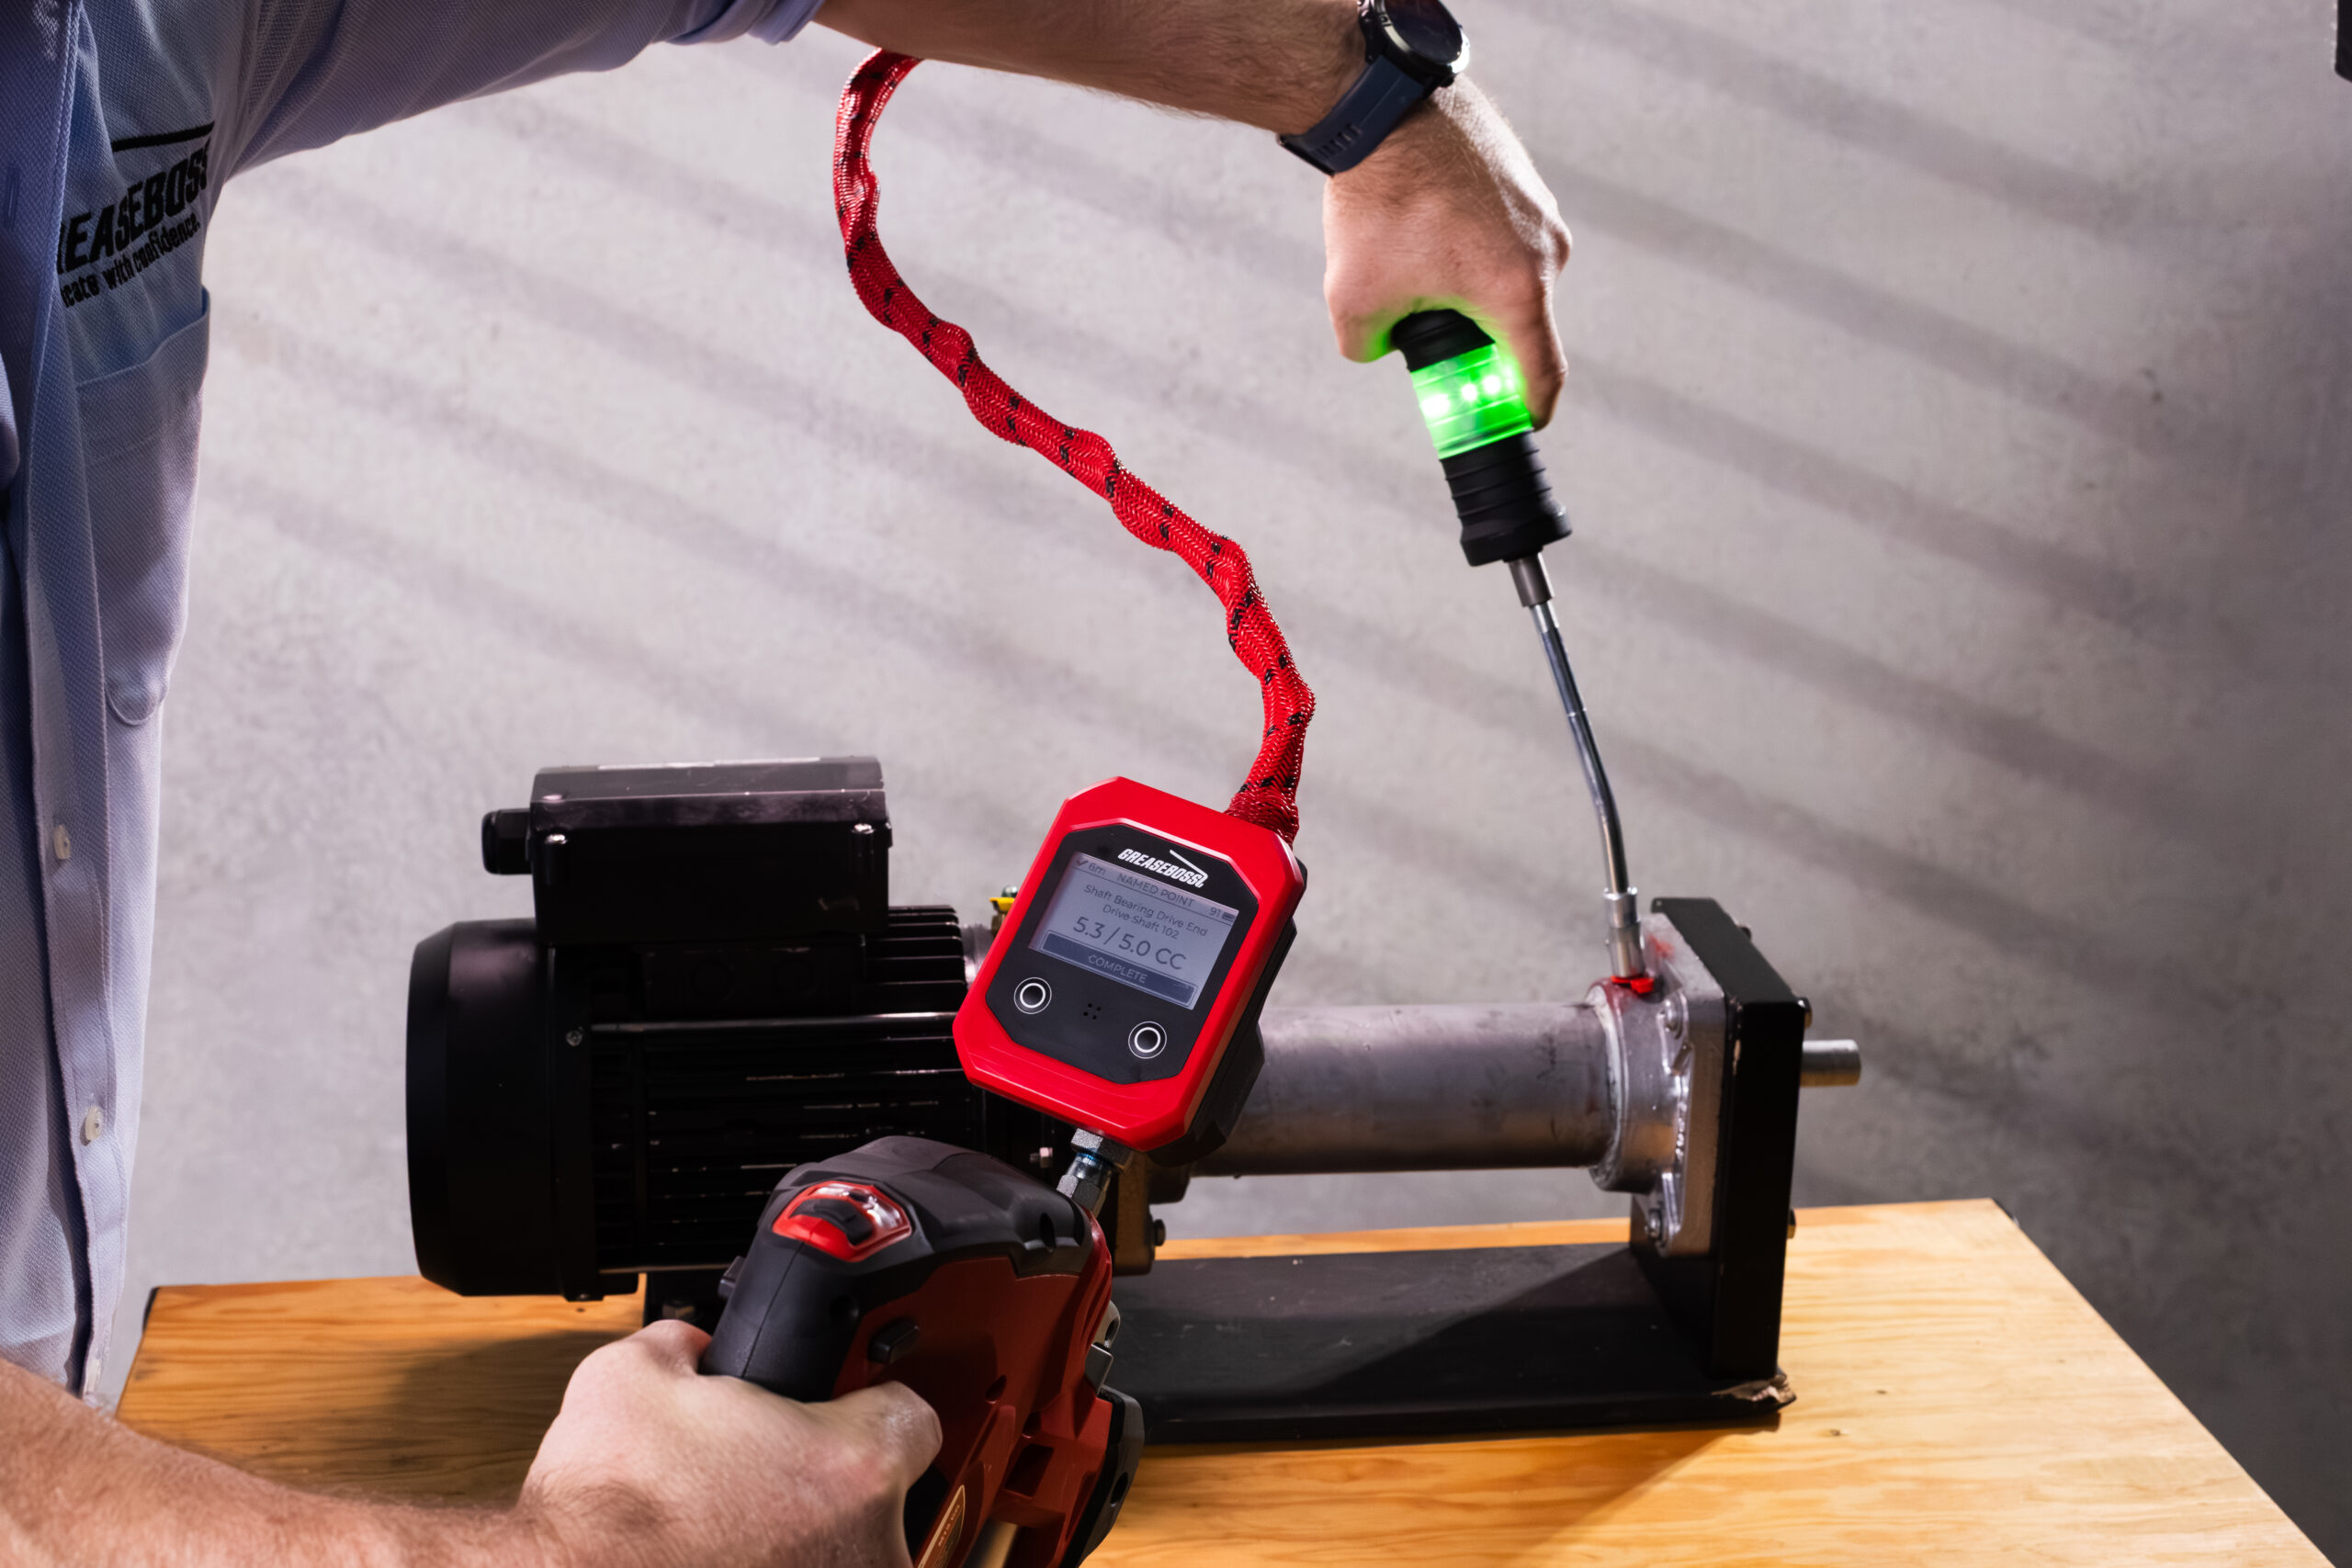
A completed manual greasing task is only useful if the team can prove it was done correctly, with the right lubricant, on the right asset, at the right time. For maintenance professionals, reliability engineers, and lubrication technicians, that proof comes from combining clear work procedures, traceable lubricant handling, field verification, and auditable documentation. When these pieces work together, PM compliance becomes more than a checked box; it becomes a reliable part of process improvement and operational excellence.
What counts as proof that a lubrication PM task was completed?
Proof means there is verifiable evidence that the task was performed according to the lubrication standard, not a simple sign-off. A strong record shows who did the work, when it was done, which asset was serviced, what lubricant was applied, how much was used, and whether any verification step confirmed the lubricant was correct and clean enough for use.
In many plants, the weak point is not the intent of the technician; it is the lack of a verifiable trail. Manual greasing, top-offs, oil changes, and route-based lubrication tasks can happen quickly in the field, often under time pressure. If the only record is a handwritten note or a closed work order with no supporting detail, it is almost impossible to verify that the tasks were done properly.
Useful proof usually combines three layers:
- Task evidence: date, time, technician, equipment ID, lubricant ID, quantity, method, and completion status.
- Material evidence: lubricant batch, container label, storage condition, transfer container, and Certificate of Analysis when available.
- Verification evidence: field checks such as viscosity confirmation, contamination screening, inspection notes, photos, digital signatures, or links to oil analysis results.

Documentation turns activity into an audit trail
The first step is to make lubrication records specific enough to be useful later. “Lubed motor bearing” may confirm that someone touched the asset, but it does not confirm that the correct grease amount or grease type was used. Better documentation captures the details needed to reconstruct the event without relying on memory.
Digital maintenance systems make this easier, but the principle applies even when teams still use paper forms. Each manual greasing activity should be tied to a defined task, asset hierarchy, lubricant specification, frequency, and acceptance criteria. The record should also include exceptions, such as a blocked fitting, leaking seal, high temperature, or wrong grease type.
A practical lubrication PM record should include:
- Asset identification
- Equipment number, component, bearing, gearbox, reservoir, or lubrication point.
- Location details that prevent confusion between similar assets.
- Lubricant identification
- Product name or internal lubricant code.
- Viscosity grade or grease specification.
- Batch, drum, tote, cartridge, or transfer container reference when practical.
- Work execution details
- Quantity added or changed.
- Tool used, such as grease gun, filter cart, transfer pump, or sealed top-up container.
- Date, time, and technician confirmation.
- Verification details
- Any field test results, visual observations, photo evidence, or condition monitoring notes.
- Deviations from the standard method and the corrective action taken.
This kind of detail supports PM compliance because it makes the record inspectable. It also helps supervisors see whether the task was completed in line with lubrication standards rather than simply completed.
Chain of custody reduces uncertainty
Lubrication errors often occur before the lubricant reaches the machine. A correct purchase order does not guarantee that the correct lubricant was stored in the right location, accurate labelling, and applied to the right asset. Chain of custody connects those steps so the team can prove the lubricant’s path from receiving to application.
A good chain-of-custody process starts at receiving. Lubricants should be checked against purchase information, labeled clearly, and matched to any available Certificate of Analysis. Storage areas should separate products that are easy to confuse, especially lubricants with similar packaging or similar names but different viscosity grades. Transfer containers should be dedicated, sealed, clean, and labeled to prevent cross-contamination.
The goal is not to create bureaucracy. The goal is to make the correct action the easiest action. When every lubricant has a clear identity and every transfer step leaves a record, technicians spend less time guessing and supervisors gain stronger evidence that tasks were completed properly.
How can viscosity testing verify the right lubricant was used?
Viscosity testing helps prove lubricant correctness because viscosity is a key property of oil grade and can change when the wrong product is added or if contamination is present. A field-capable viscosity check can give technicians a practical way to confirm that the lubricant in use matches the expected grade before or after a PM task.
This matters because misapplication is not always obvious by sight. Two oils can look nearly identical in a sight glass or transfer container while performing very differently inside a gearbox, hydraulic system, turbine, or circulating oil system. If the wrong viscosity is introduced, the asset may experience poor film thickness, elevated wear, heat, inefficient operation, or shortened component life.
Viscosity verification is most useful when it is built into a defined decision process:
- Before application: confirm that oil from a drum, tote, or transfer container is consistent with the intended lubricant.
- During troubleshooting: compare in-service oil against the expected viscosity when abnormal temperature, noise, wear, or pressure issues appear.
- After top-off or change-out: confirm that the lubricant in the machine has not shifted outside expected limits due to mixing or contamination.
- During audits: provide objective evidence that lubrication practices are controlled, not assumed.
Field viscosity checks do not replace a full oil analysis program, but they can close an important gap between the lab and the lubrication route. They give the maintenance team faster feedback, helping prevent a small manual greasing mistakes from becoming a reliability problem.

Manual greasing needs measurable controls
Manual greasing is common, necessary, and often difficult to verify. A technician may complete the route, but the paper record could not show whether the right grease or the right amount was applied at the right time. Over-greasing, under-greasing, mixing incompatible greases, and greasing the wrong point can all create risk while still appearing as a completed PM.
The answer is to add controls without making the task unworkable. Lubrication points should be clearly visbile, grease guns should be assigned to specific products, and grease volumes should be made obvious. If strokes are used as the field measure, the team should understand the approximate output per stroke for that grease gun and keep the tool in consistent condition.
For better control, teams can use:
- Color-coded tags for grease type, lubricant family, or application method.
- Dedicated grease guns or cartridges for critical products.
- Route sheets or digital work orders that identify each lubrication point individually.
- Photos or diagrams for hard-to-find fittings.
- Ultrasound-assisted greasing where appropriate to reduce the risk of adding too much.
- Exception codes for blocked fittings, missing tags, damaged lines, or abnormal feedback.
These steps create stronger proof because they document the method, not just the outcome. They also make training easier, especially when experienced technicians are passing knowledge to newer team members.
Digital tools strengthen PM compliance
Digital work management tools can improve PM compliance by making records consistent, searchable, and harder to falsify. A mobile work order can prompt the technician to scan an asset tag, select the lubricant used, enter quantity, and attach a photo evidence before the task is closed. This reduces the chance that critical information is forgotten at the end of a long route.
Automated data capture is especially valuable for high-consequence equipment. Barcode or QR code scans can link the asset, lubricant container, and task record. Time stamps can show when the work was performed. Integration with condition monitoring systems can connect lubrication activity to vibration, temperature, ultrasound, particle count, moisture, or oil analysis trends.
This connection is important because lubrication PM should not live in isolation. If a gearbox receives the correct oil but wear particles continue to rise, the record should help the team ask better questions. Is contamination entering through a breather? How efficient is the filtration strategy? Is the change interval appropriate? Is the operating environment harsher than expected? Good documentation gives reliability teams the context needed to move from task completion to root-cause analysis.
Lubrication standards make proof consistent
A manual greasing program is easier to verify when it is anchored to clear standards. Internal procedures should define lubricant selection, storage, handling, filtration, application methods, sampling practices, and acceptance criteria. External references such as ISO, ASTM, and SAE standards can help shape consistent expectations, but each site still needs practical instructions that fit its equipment and operating conditions.
Standards also reduce variation between shifts, departments, and individuals. Without a standard, one technician may top off a reservoir based on habit while another waits for a sight-glass level. One team may filter new oil before use while another assumes new oil is clean enough. These differences may seem small, but they weaken proof and make failures harder to investigate.
A useful lubrication standard should answer:
- Which lubricant is approved for each application?
- How is the lubricant stored and transferred?
- What cleanliness or quality checks are required before use?
- How much lubricant should be applied, and by what method?
- What conditions require escalation instead of routine completion?
- What evidence must be captured before the PM is closed?
When these answers are built into training and work execution, compliance becomes repeatable. It no longer depends solely on memory or personal preference.
How does verification support Continuous improvement?
Verification supports Continuous improvement by turning lubrication work into data that can be reviewed, trended, and improved. Instead of asking only whether tasks were completed, the organization can ask whether the tasks are preventing failures, reducing contamination risk, improving equipment condition, and supporting operational excellence.
This is where lubrication proof becomes more than an audit requirement. Records can reveal recurring late PMs, repeated exceptions at the same asset, frequent lubricant mix-ups, contamination patterns, or components that require more lubricant than expected. Each finding is an opportunity for process improvement, whether that means updating a route, improving labeling, adding filtration, changing storage practices, or retraining the team.
Oil analysis data can also extend the value of verification. Viscosity, particle levels, moisture, wear metals, oxidation, varnish potential, and other condition indicators can help show whether lubrication practices are working after the PM is complete. If the data improves after better lubricant handling or cleaner transfers, the team gains evidence that the process change had a positive effect.
A practical framework for proving lubrication PM completion
Teams do not need to solve everything at once. A practical approach is to start with the most critical assets and the riskiest lubrication tasks. From there, build a repeatable proof model that can expand across the facility.
Use this framework as a starting point:
- Define the task clearly
- Identify the lubrication point, lubricant, quantity, method, frequency, and required condition checks.
- Control the lubricant path
- Track receiving, storage, transfer, labeling, and container cleanliness.
- Verify the material
- Use COAs, labeling checks, field viscosity testing, contamination checks, or oil analysis where appropriate.
- Capture the evidence
- Require technician confirmation, time stamp, asset ID, lubricant ID, quantity, exceptions, and supporting photos or readings.
- Review the results
- Compare PM completion records with equipment condition trends, failures, repeat issues, and audit findings.
- Improve the process
- Update procedures, routes, training, storage practices, or verification methods based on what the evidence shows.
This framework works because it treats proof as part of the work, not an administrative task added after the fact.
The real goal is confidence
Proving that manual greasing tasks were completed is not about distrusting technicians. It is about giving the team a system that protects good work, catches errors early, and creates evidence that can survive audits, investigations, and reliability reviews. The stronger the proof, the easier it becomes to connect daily lubrication tasks with equipment health and business performance.
Start with the tasks where the consequence of error is highest. Add clear documentation, lubricant traceability, viscosity verification, and practical digital controls. Over time, those habits turn PM compliance into a measurable foundation for safer, cleaner, and more reliable operations.